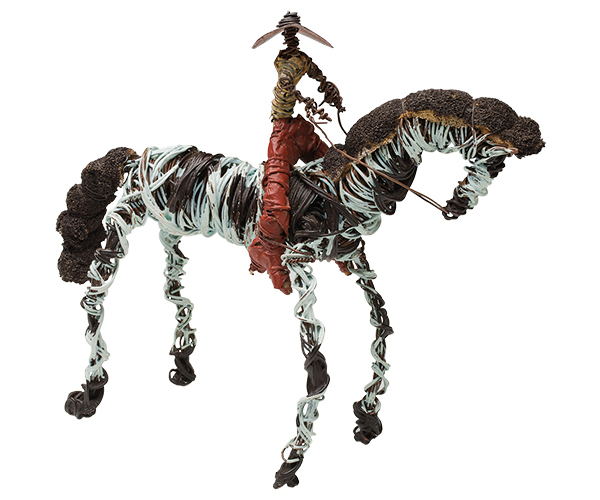
Make a toy horse and rider, inspired by the large metal sculptures of horses and the small bush toys in the exhibition Spirited: Australia’s Horse Story.
How to make a toy horse and rider
Skill level: ★★ Medium – you may need an adult to help
Time: 30 minutes
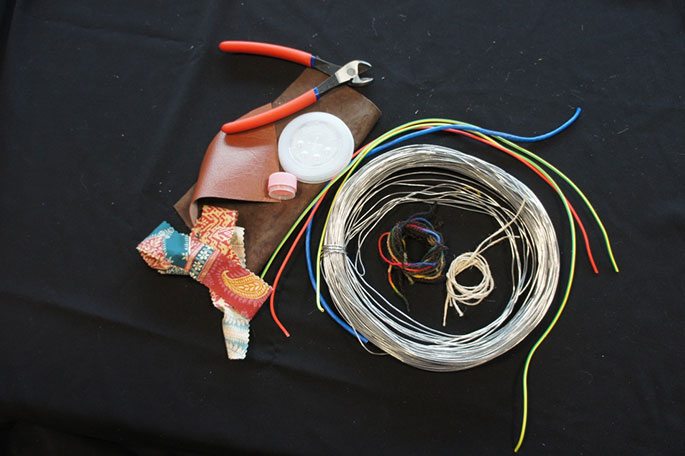
What you need:
- lots of fencing wire (standard 2.5 mm wide and about 4 m in length). You may like to cut this into several pieces to make it easier to work with
- electrical wire (around 60 cm is a good length). This works well to form a solid frame
- pliers and scissors (it is very important to ask an adult to help using these, as they can be sharp)
- twine, blu tac or rubber bands to help attach things to your toys
- decorative materials such as wool, vinyl, plastic and fabric. You can use almost anything! Bottle tops and lids make great helmets and hats.
Tip: If you use materials from around the home, make sure you ask an adult first. You might need to ask an adult for help with cutting or wrapping wire around your toys.
Steps 1–2
- Think about the size, shape and stance of your horse toy. You might like to do some research and find a picture of a horse.
- Prepare your materials. Ask an adult for help with cutting and wrapping of wire. Check that any sharp edges, such as the ends of electrical wire, are removed before you begin.
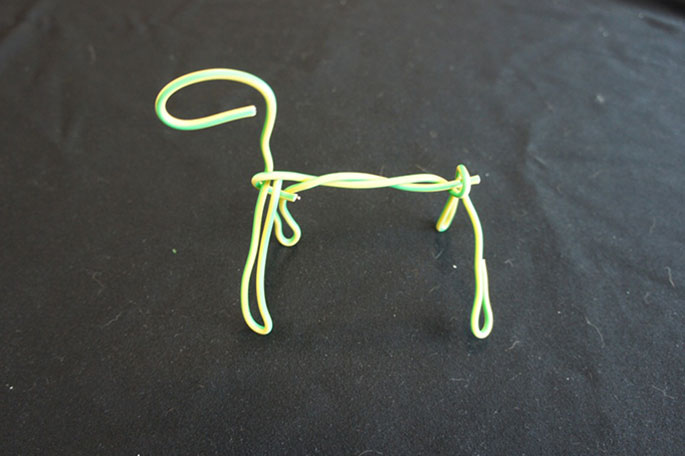
Step 3
- Take the electrical wire (about 60 cm) and start bending it to form a horse’s head.
- Continue bending until you have formed a body and four legs.
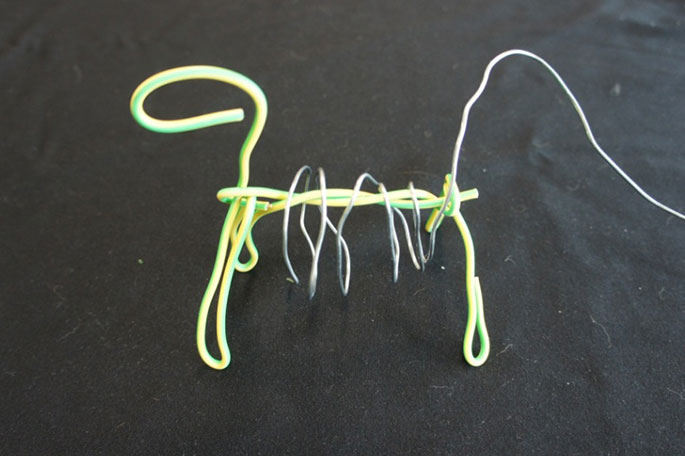
Step 4
- Once your electrical wire frame is complete, start wrapping the fencing wire around it. The tighter and closer you wind the fencing wire, the stronger the body will become.
- When you are finished, cut the end and push it into the frame so it is out of the way.
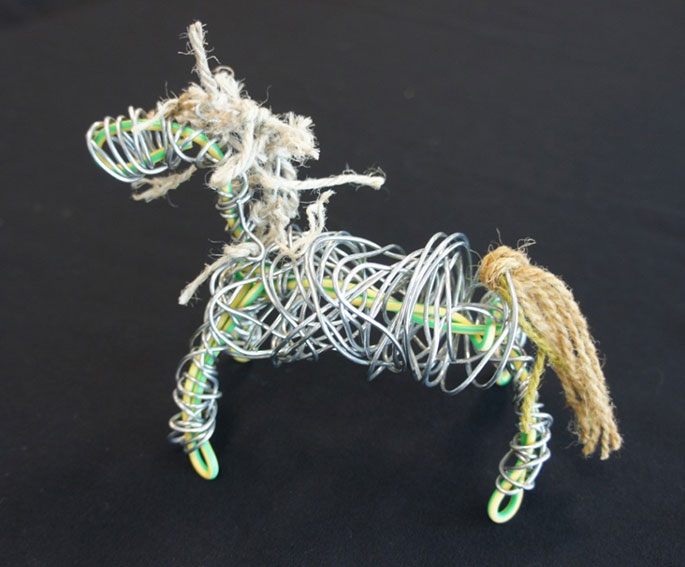
Step 5
- Tie the wool or twine onto the frame to form the tail.
- Do the same for the horse’s mane but with smaller pieces.
- Tease out the ends to create a bushier effect.
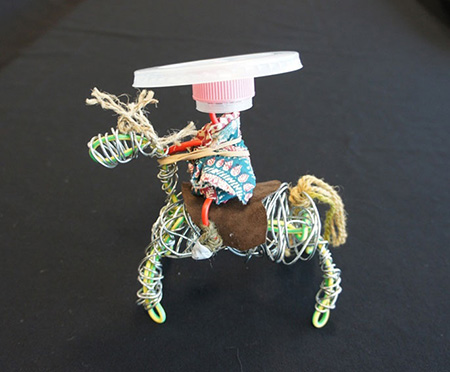
Share your creation
If you have more time you may like to create a rider for your horse and decorate it with other items from around the house. Use blue tac, glue, twine, rubber bands or a combination of these items to attach items to your toys.
We’d love to see your creation by emailing us a photo to: programs@nma.gov.au
You may also like