Create your own flip book inspired by our visiting exhibition DreamWorks Animation: The Exhibition – Journey from Sketch to Screen.

Did you know ...
Flip books are a simple form of animation made by stacking a series of images into a booklet.
Each image is slightly different from the one before and after. When you flip the edges of the booklet the images appear to move.
It is a very early form of animation, dating back to the 1860s.
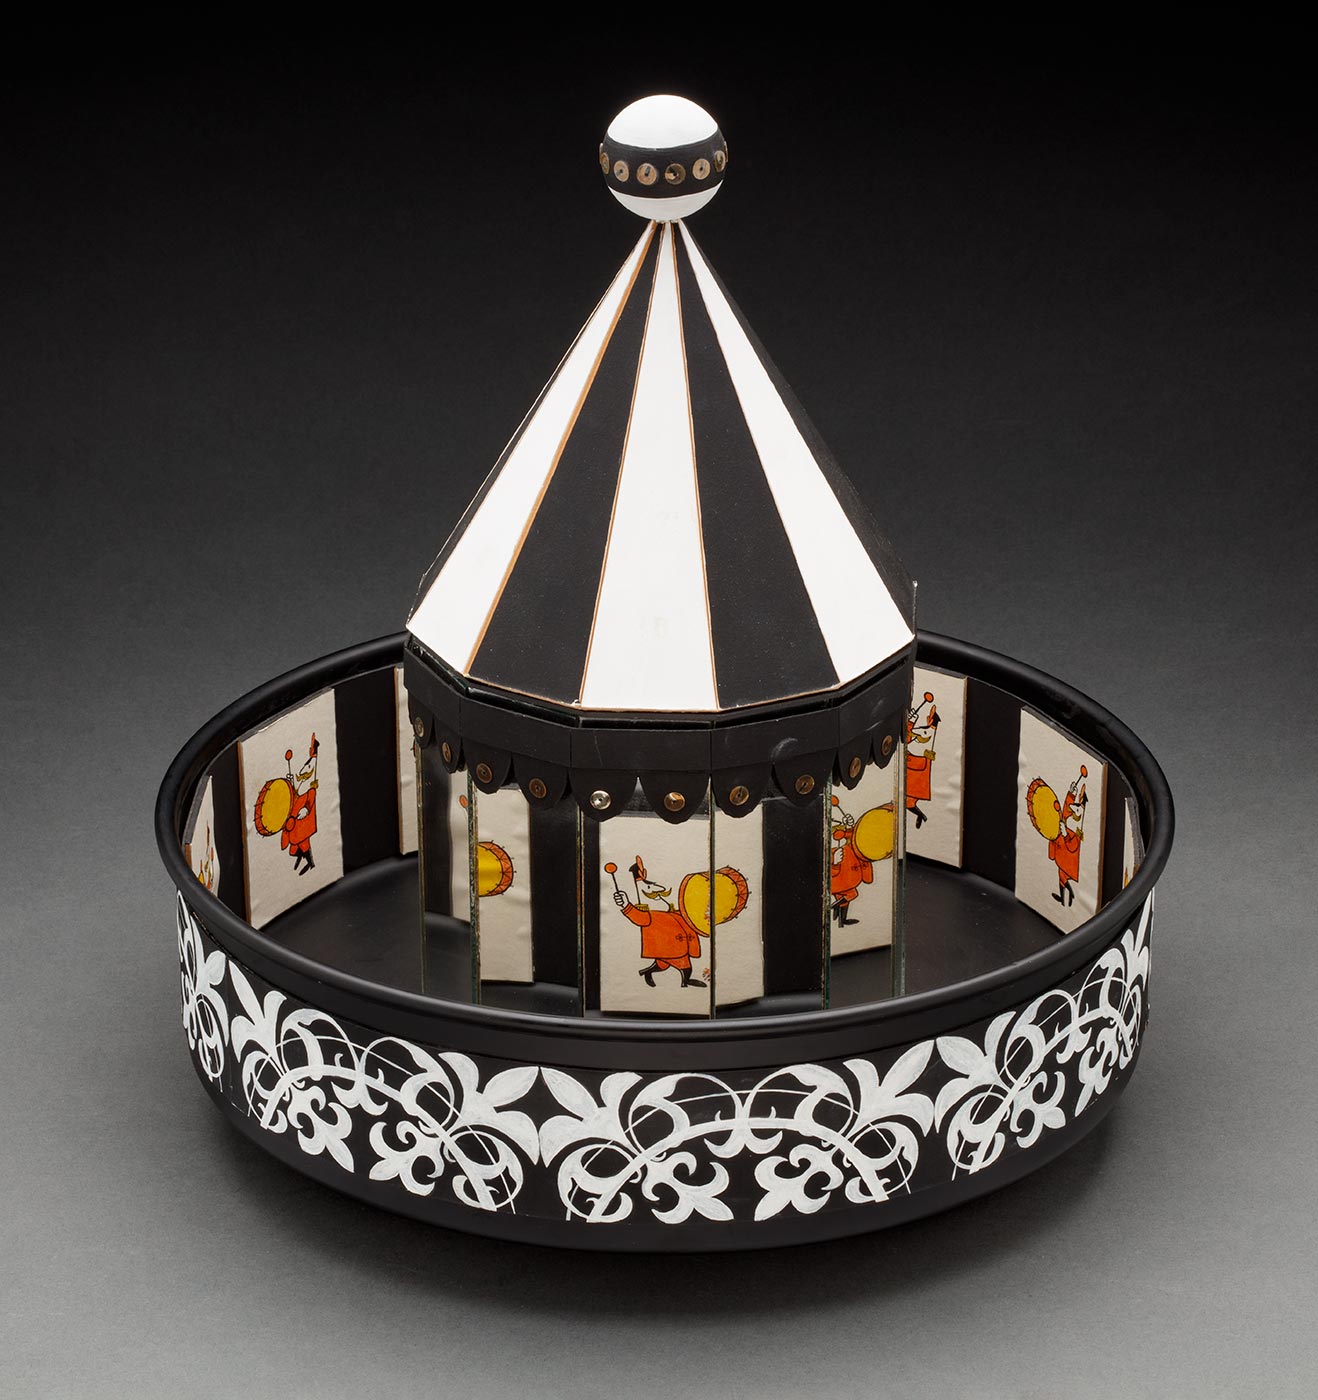
In our object collection at the Museum we have a model praxinoscope. It is like a flip book but instead of flipping pages we spin the praxinoscope to see the images animate or move.
How to make an animated flip book
Skill level: ★★ Medium – you may need an adult to help
Time: 40–60 minutes
What you need:
- Sticky notes or sheets of paper to cut up
- Pens or pencils
- An eraser
- Glue
- Bulldog clip
Steps 1–2
- Gather your materials. If you are not using sticky notes, cut sheets of paper into small rectangle shapes. A good size is 5 cm x 10 cm.
- Simple is better to start with. Start drawing your animation. Remember you have to draw on every page. Each drawing will need to have a slight change from the page before. This is what makes it appear to move.
- The flip book we are making is a bouncing ball on a horizon line.
- Draw a horizon line in the same spot on all the pages. This line will not be moving.
Tip: Draw the line on one page and then trace this line on each page. You can put the page with the line on a window and rest a blank page over the top and then trace it – the light from the window helps with tracing.
Steps 3–5
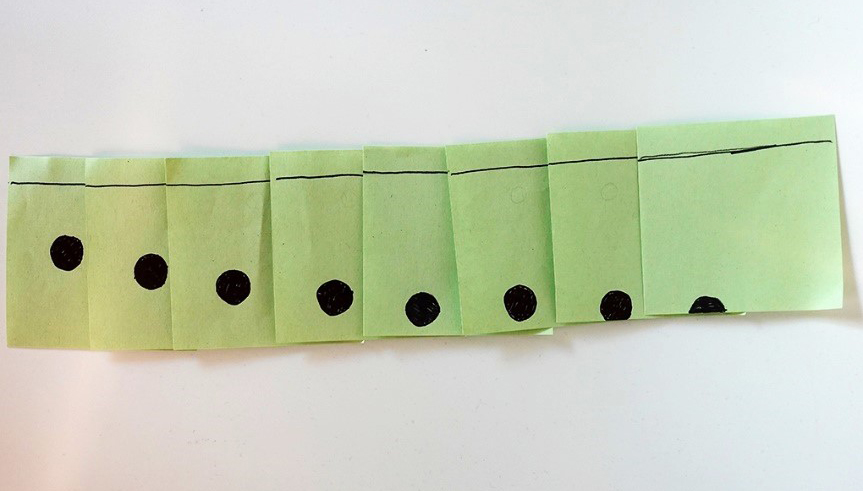
- Start to draw the bouncing ball. At this stage you can only see a small part of the ball.
- Keep drawing the ball as it moves down the page.
- You can draw each picture twice. This makes your flip book longer and flow better. Each picture is a ‘frame’. To make an animation you need about 25 frames per second – or 25 drawings.
Step 6

- If you line all the images together you can see that in each drawing the ball is drawn slightly lower than the one before.
- Once you have finished all your drawings or frames check that they are in the right order.
- Clip (or staple) your drawing together to make a booklet. Use your fingers to flip the right edges of the page.
- Once you are happy with your flip book show it off and see what other animations you can create.
Share your creation
We’d love to see what you make! Ask an adult if you can send a photo or video to programs@nma.gov.au
